

Five simple steps to a revenue producing site
There are a lot of different kinds of ways to have a membership site work for you. One of the emailed questions I received recently asked about creating a private review site.
Now, if I understood their requirements correctly, they wanted to do the following:
- Make sure only paid customers can see product reviews
- Make sure reviewers pay to create the reviews
It's an interesting model because the site owner can monetize both sides of the process – people creating and people reading the reviews.
Thankfully, this is a relatively easy thing to create when you have WordPress and the right set of plugins.
I should note that there are a variety of ways to do this. I'm simply going to show you one way.
Private Review Site Requirements
To do what I'm going to do, you'll need your own WordPress site (not WordPress.com), and the following plugins:
- Gravity Forms ($39)
- iThemes Exchange (free)
- iThemes Membership extension for Exchange ($97)
These will let you do just about everything you want.
But if you also want to make these reviews their own post types (custom post types), then you would also want:
(I'm not going to cover doing this with custom post types, but you should know it's possible.)
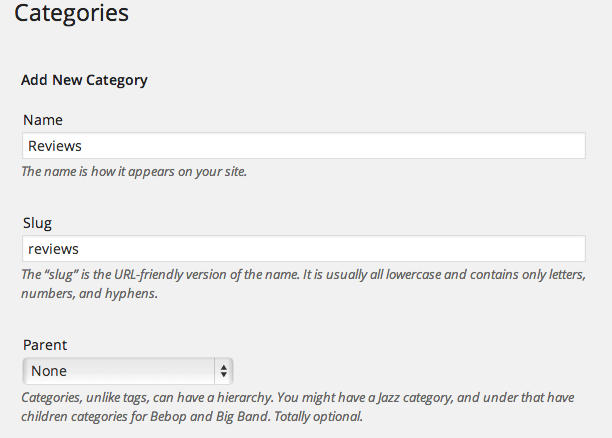
1. Create a Post Category
The first step is pretty easy. You head over to POSTS > CATEGORIES and you add a new one.
I'd call it “reviews.”
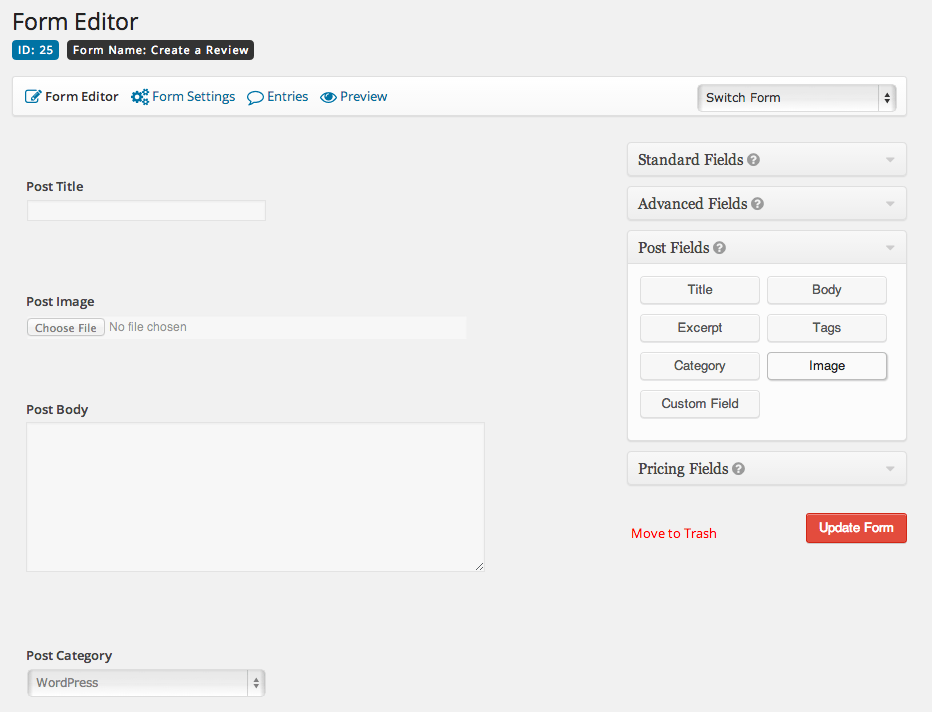
2. Create a Gravity Form
Your second step is to create a new Gravity Form that your reviewers will use to create their reviews. You can collect all sorts of great information via the form.
But in the end, the powerful part of what you're doing is that you're using the form to actually create a post. So be sure to use the Post Fields.
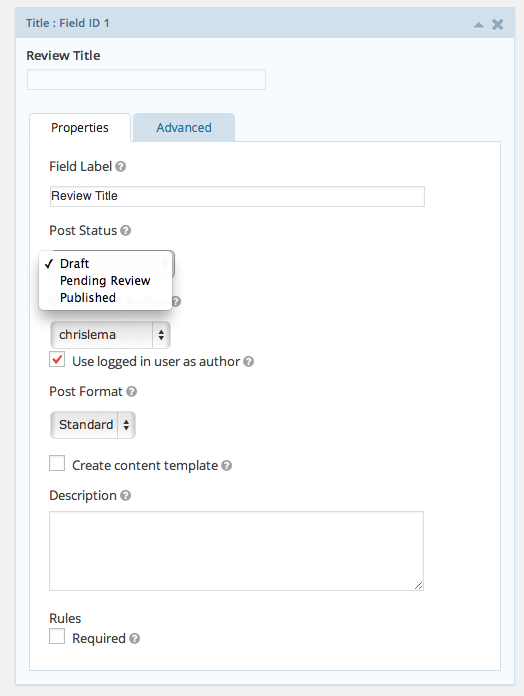
When you add the “Post Title” field on the form, you'll get to define if you want the post immediately published, or if you want it to remain a draft for your review.
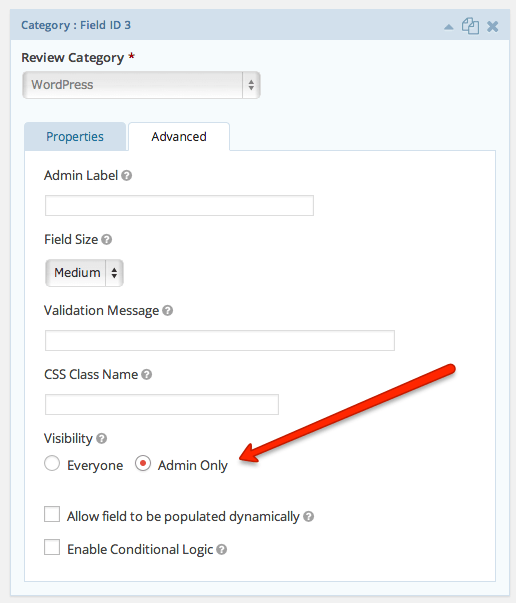
And another thing to note is that even though you want these posts to be in the “Review” category, you don't have to let the user even see or choose it – you can set it…
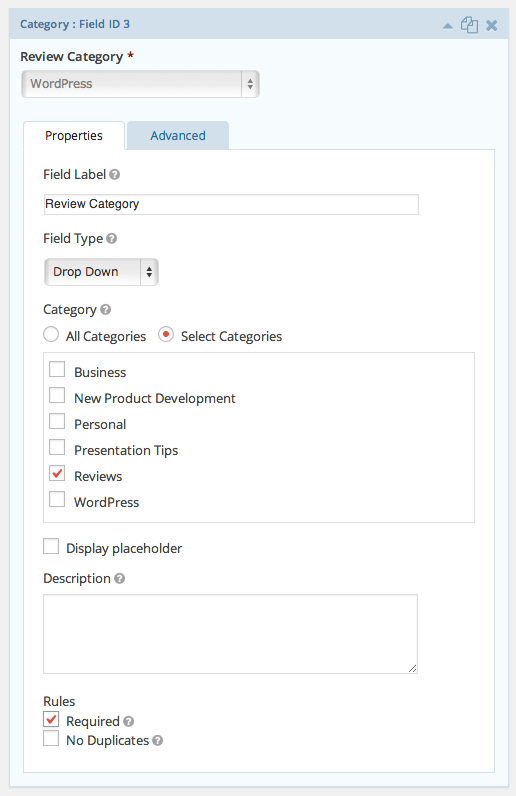
as well as hide it.
3. Place it on the “Create a Review” Page
Now that you have your form, you'll want to create a page where you can place that form. It's the page you'll protect from everyone else.
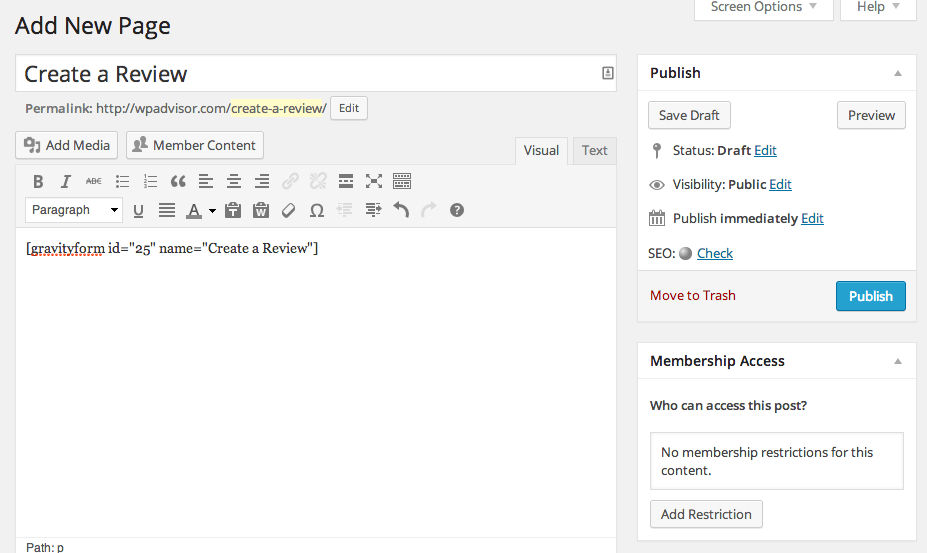
Notice that I could add the page restriction right away, but I don't because I have yet to create the membership to protect it.
4. Create a membership for Reviewers
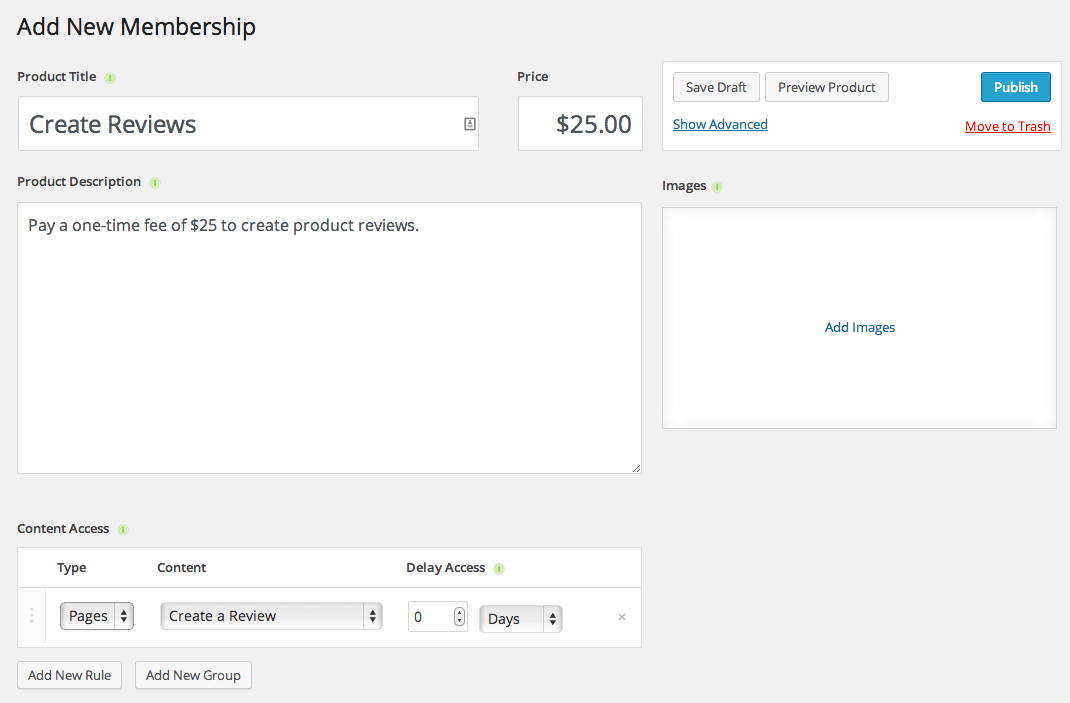
Now I do the work of creating the membership. I give it a title, a price, and a description.
Then, below that, I create a content access rule – which in this case points back to the page I just created.
(Note that this is a one-time fee. You can also create a recurring charge if you want with Exchange, but you'll need to purchase support for recurring payments. If that's something you're thinking about, you should do what I did and just buy the entire Pro Pack.)
5. Create a membership for the Reviews category
Your last step is to simply create the membership that lets people behind the paywall where they can actually see all the reviews people have created.

Conclusion
There are a lot of different ways to create revenue from a membership site, but you have to admit, this one is pretty darn simple. Exchange and Gravity Forms make it almost too easy.
So if you work in a realm where this idea works, I'd say stop hanging around here and get started right away!