 The other day I wrote about the integration between TextMarks and Gravity Forms. I mentioned that I was a huge fan of Twilio and since it offers SMS services as well, I thought I would look into it. If you know Gravity Forms, you already know there's an add-on that helps you integrate with Twilio already. So you might think you're basically done – just configure the fields, drop in your auth codes, and you're good to go. Right? Nope. Because their add-on is a notification solution meant to send a series of texts to one person (like the store clerk every time a new order comes in).
This is a Hack!
So the journey I'm about to take you on can only be considered a hack. There's no way to make this any more elegant with hooks, like I showed you in the post the other day. So don't try this at home if you're not comfortable calling yourself a hacker. BUT, if you are ready to take on the challenge, let's get started watching how we get Twilio with Gravity Forms to deliver pure delight.
1. Start like normal, installing the add-on.
The add-on for Twilio is only available to Developer license holders. So if you don't already own that license for Gravity Forms, head over and get it. You know you want to! Once you do that, you can go to the FORMS > SETTINGS and put in your license code. After that, head over to FORMS > ADD-ONs, so you can pick and install the Twilio add-on.
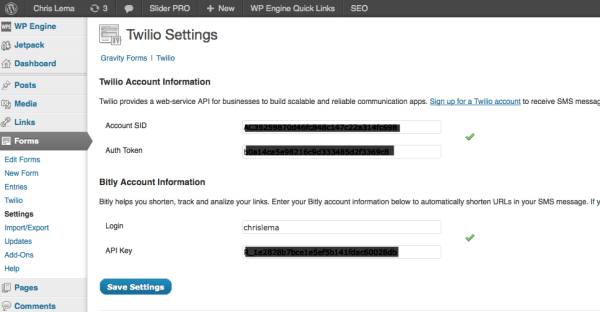
2. Configure the Settings (just like normal).
You'll likely want to open up Twilio to get this info, but you'll need your Account SID and your Auth Token, along with Bit.ly info if you want short codes in your message text.
3. Create a Form & Configure a Feed
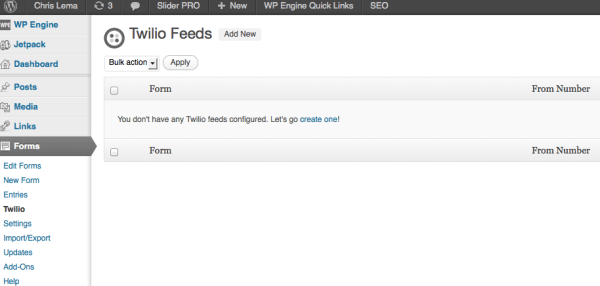
This next step doesn't venture too far off from the beaten path either. You'll want to create a form (collecting fields like a phone number) that you'll connect to Twilio. After the form is complete, you're going to want to go to FORMS > TWILIO so that you can configure a feed. A feed is the link between a given form and a text message that goes out. Normally this is where you specify who the recipient should be (and it's normally static).
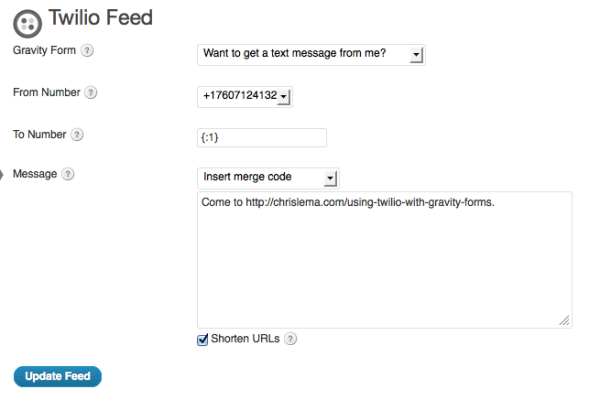
4. Configure the “To” field (not so normal).
As you get ready to configure the form, you'll notice the “To Number” is blank and doesn't have any way link to a form field. So what you have to do, is click on the “insert merge code” below, and grab the field you want. In this case because I didn't put a label, all I have is the field code ({:1}.
5. Get ready to Hack!
What we need to do is basically tell the add-on how to do a replace in the “To” field, to respect that merge code. That means we need to edit the plugin file. [NOTE: I think that's the first time those words have ever been uttered on this site.] What we'll need to do is first define a variable. We do that by looking at the code just above the new line we're going to add. In (or around) line 935 of twilio.php we see that there is a line that starts,
$body = GFCommon::replace_variables('there's code in here');
And we're going to want to add another declaration by creating a new “to” variable. So we'll match it:
$twilioTo = GFCommon::replace_variables('copy the code from the line above');
Then, the only other change is the line after it (around 938) where we see a reference to the “to” but we want to swap it for our own (new) variable:
twilioTo.
Here's what it looks like:
NOTE: I didn't design this hack. Credit goes to deweydb on the Gravity Forms forums for figuring out the little tweak.


