June 16, 2021
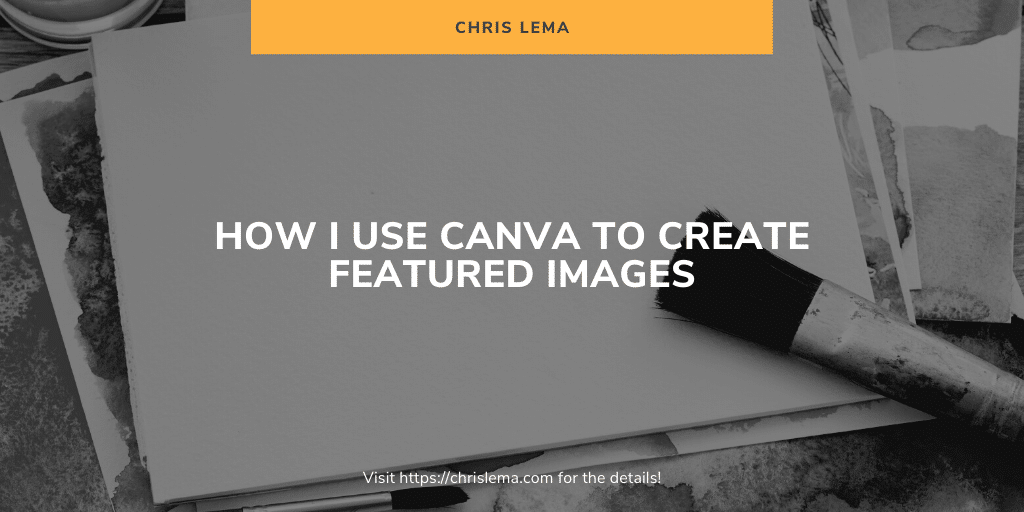
How I Use Canva to Create Featured Images
Shifting from Adobe to Canva felt like betrayal The first time I used Abobe Photoshop or Illustrator was almost 30 years ago. And I used them every day for more than 20 years. But slowly over the years, I started needing them less (and using Excel far more). Nevertheless, when I discovered and started to...
Shifting from Adobe to Canva felt like betrayal
The first time I used Abobe Photoshop or Illustrator was almost 30 years ago. And I used them every day for more than 20 years. But slowly over the years, I started needing them less (and using Excel far more). Nevertheless, when I discovered and started to use Canva to create features images, I felt so wrong. I felt like I was cheating on my old graphics partner. The problem was that I really didn't need Adobe. Canva gave me exactly what I needed and made my work really easy.
Using Canva is so simple and quick
The first uses of Canva were a bit tricky because the interface looks so simple. I just assumed I wouldn't be able to handle the text or alignment, or line height, or some other design item I cared about. But it wasn't true. Everything I wanted to do, I could.
Most importantly, once I did the initial work to create an image, I was able to use it as a starting point or template the next time I wanted to create something.
Suddenly using Canva to create featured images felt like a no-brainer. It would be silly to do this work in any other tool.
So for the last six months I've been using Canva to create all sorts of images (and daily using it to create my featured images).
Here's how I use Canva to create featured images for every post
Time needed: 3 minutes.
I can normally use Canva to create my featured images in less than 2 or 3 minutes. The steps are listed below. And if I was starting from scratch it would take more work, but like I mention in the first step, I use some shortcuts to make everything much faster.
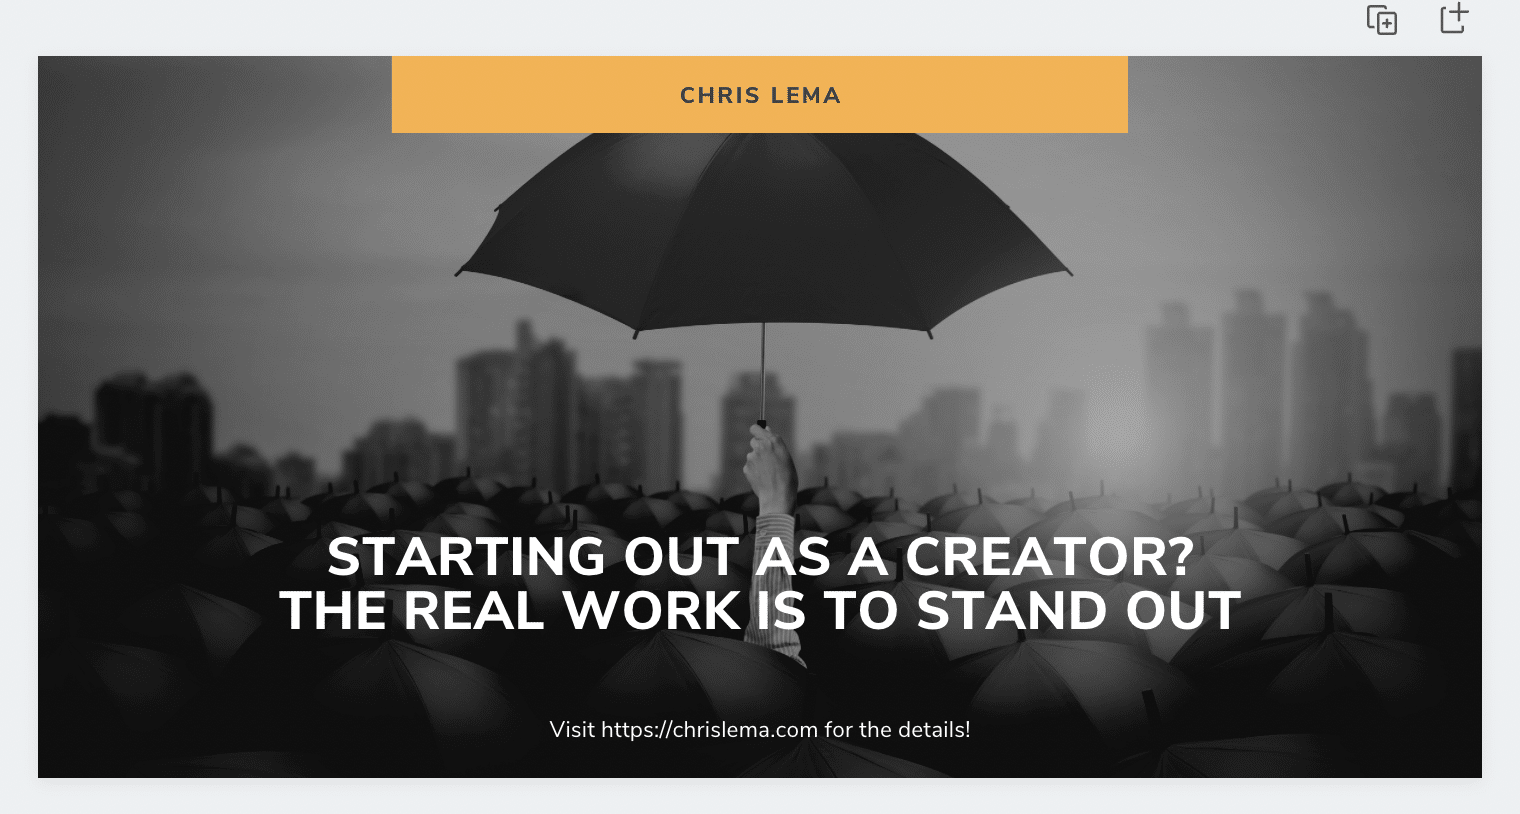
First, make a copy of an existing image
Canva gives you an option to make a copy of something you've created in the past. This is perfect because it lets me use yesterday's image as a template for today's. This saves me tons of time.
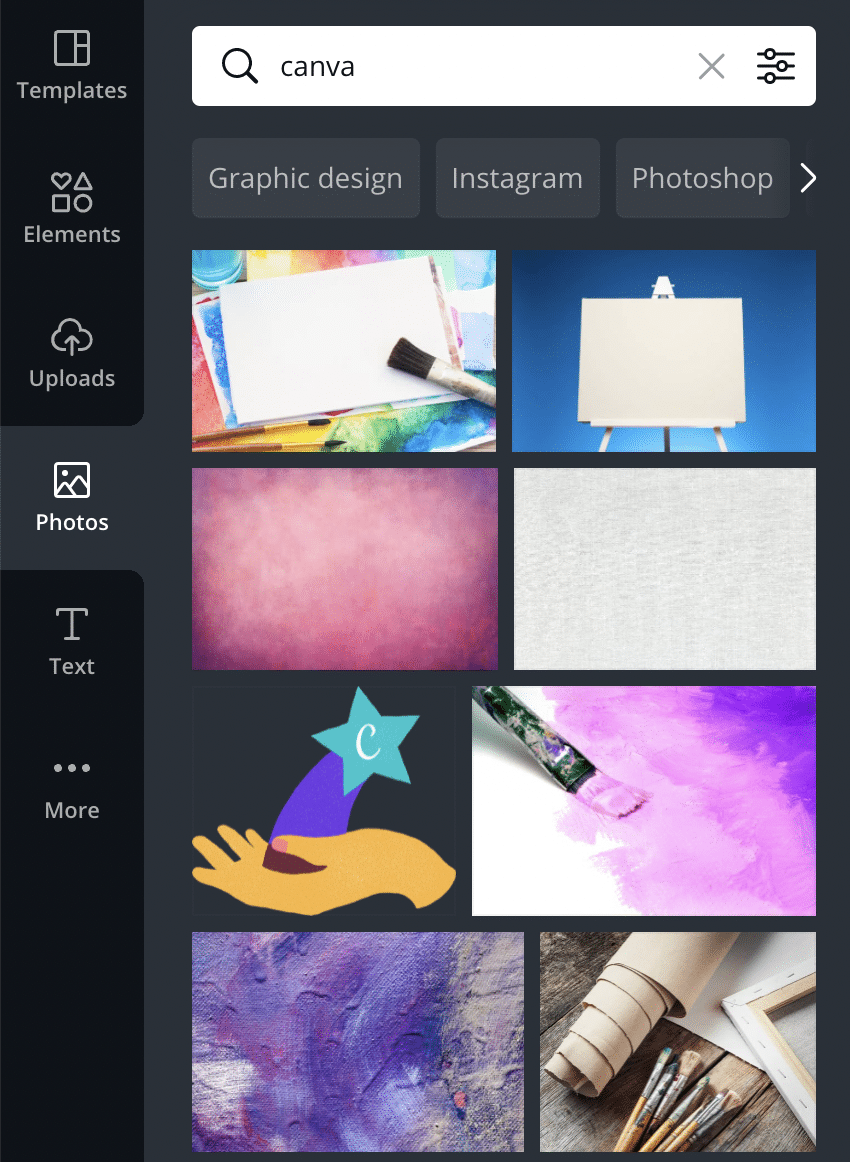
Second, find an image for the background
The second thing I do is go to the object menu on the left and click on Photos. This gives me a search bar where I can type in a concept and get a bunch of related images. When I find the one I want, I drag it onto the screen. It will replace the old image (and keep any effects, like making it black and white).
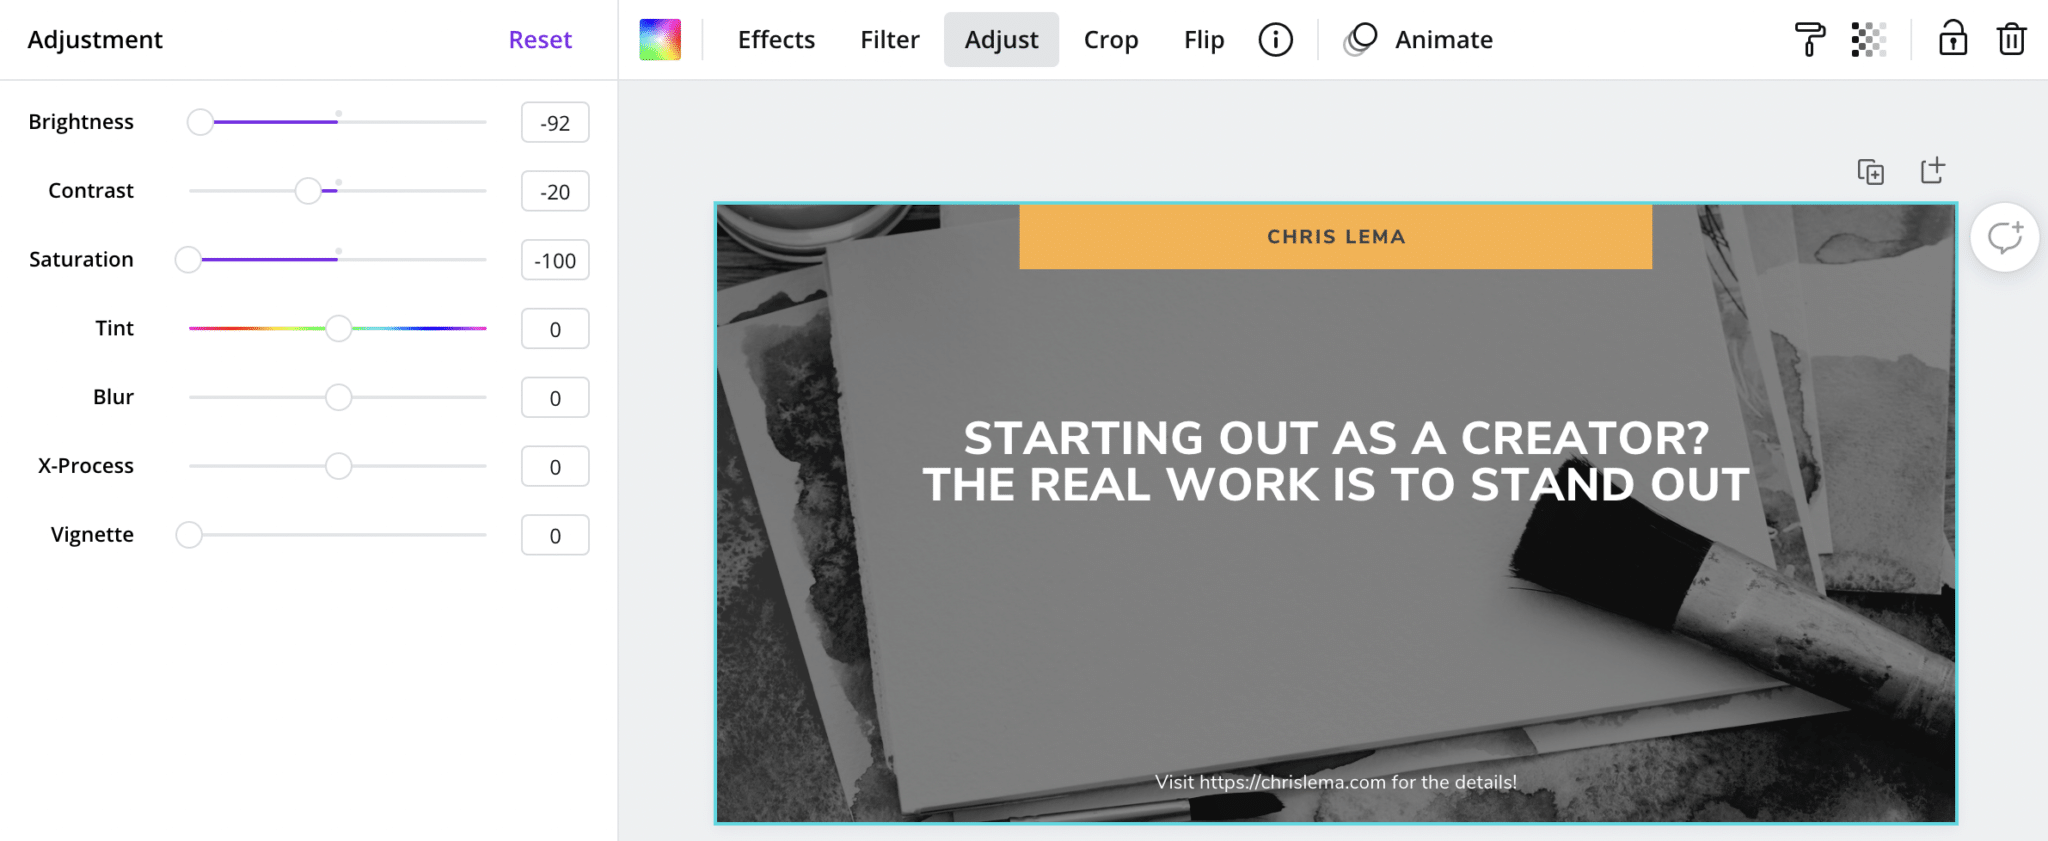
Third, make any coloring adjustments for better contrast
Even though the photo will be black and white, I click on the adjustments tab to look over the brightness and contrast. I want to make sure that the post title (in white) really stands apart from the image. This also impacts the photo selection in the earlier step. If the image is too busy, it won't be a great background.
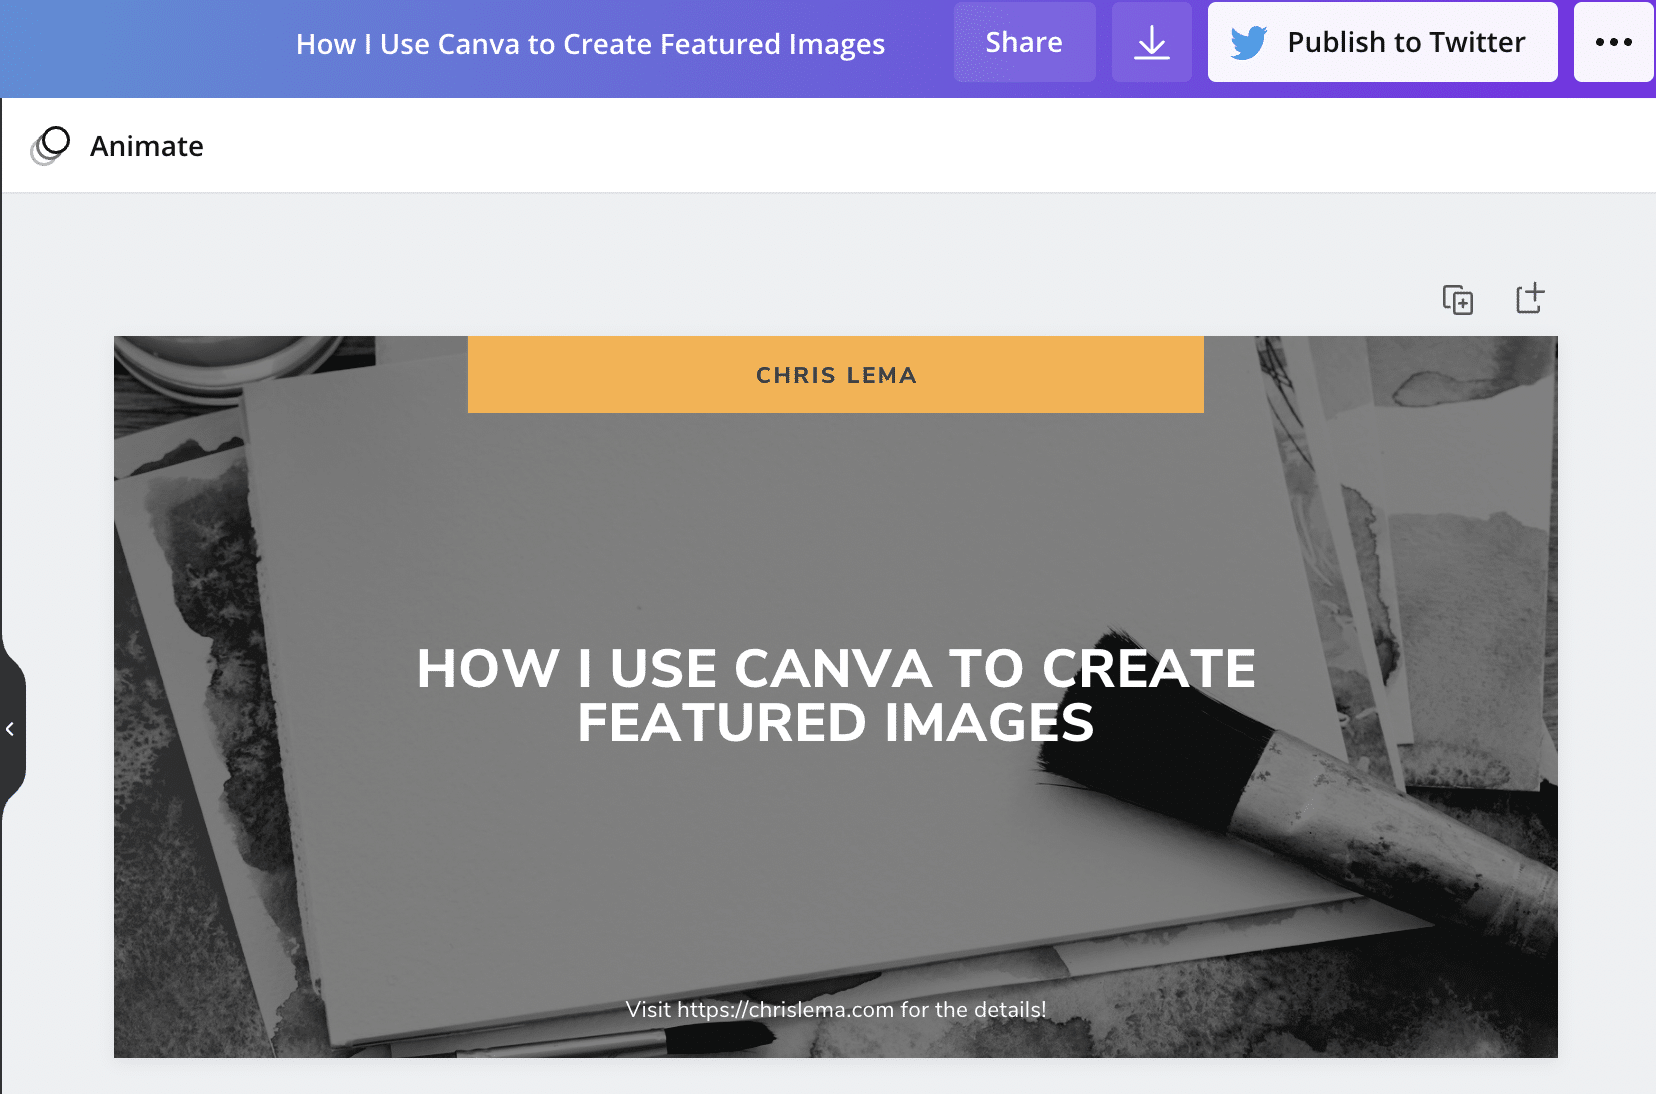
Fourth, replace the title (and image name)
The final step before downloading the image (and assigning it as the featured image on a post) is to change the text. Each image in Canva has a name. That's the top title in the blue/purple bar. I change that because it will become the image file name. But I also change the text in the middle of the image, because that's where my post title goes. Then I click on that down arrow and download it to my computer.
I'm still looking at new tools
I know this quick tutorial is showing you how to use Canva to create featured images, but I've started to look at using other tools like Bannerbear to automatically create the missing featured images I have for the other 1200+ posts that aren't using this current design.
Either way, my main point is that there are a lot of tools out there that will help you look good and promote your content, without requiring you to be an artist or take more than 2-3 minutes of your time.
If you haven't checked out Canva yet, this is a great time to do so.
A story. An insight. A bite-sized way to help.
Get every article directly in your inbox every other day.
I won't send you spam. And I won't sell your name. Unsubscribe at any time.
About the Author
Chris Lema has spent twenty-five years in tech leadership, product development, and coaching. He builds AI-powered tools that help experts package what they know, build authority, and create programs people pay for. He writes about AI, leadership, and motivation.