
We all like product filters
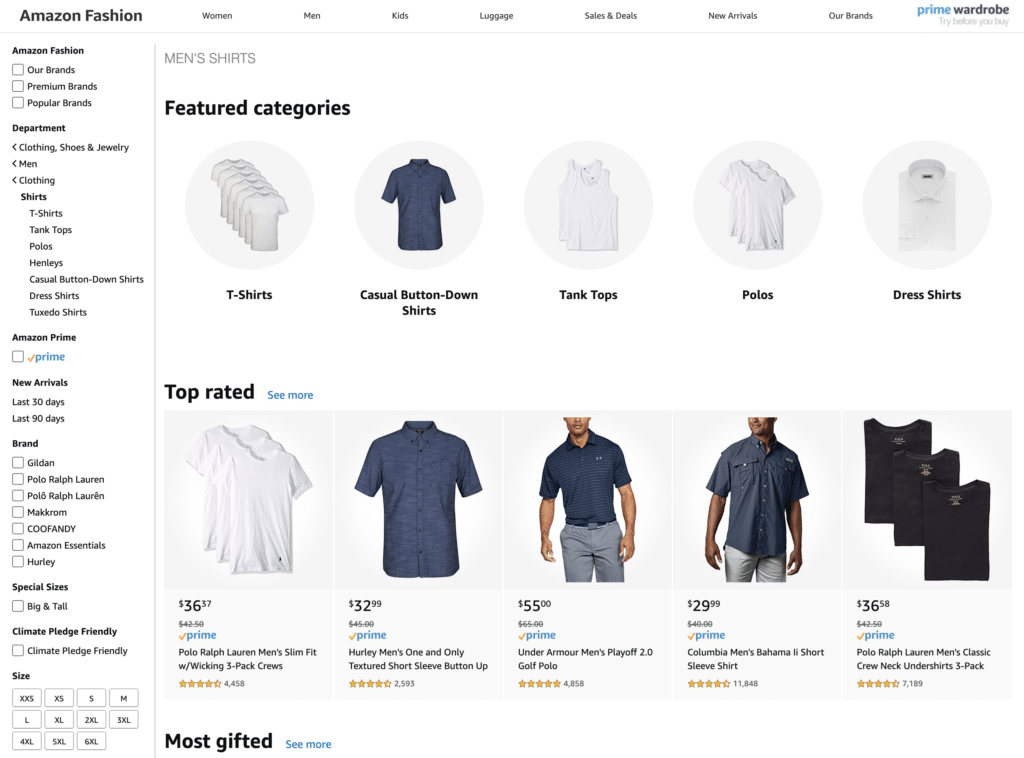
There's no chance you've not shopped at Amazon. The only question is whether you remember what you last bought there. But what has become commonplace in eCommerce is that left column of product filters. They help you narrow down the options to help you find what you want. So let's talk about how you could create WooCommerce product filters to match.
Before creating WooCommerce product filters, there's work to do
The first thing you want to do is make sure you've created some product attributes. These are going to be the core building blocks for your WooCommerce product filters.
You can get started on that even before you create products! Just head to Products > Attributes and add one on the left side where it says “name.”
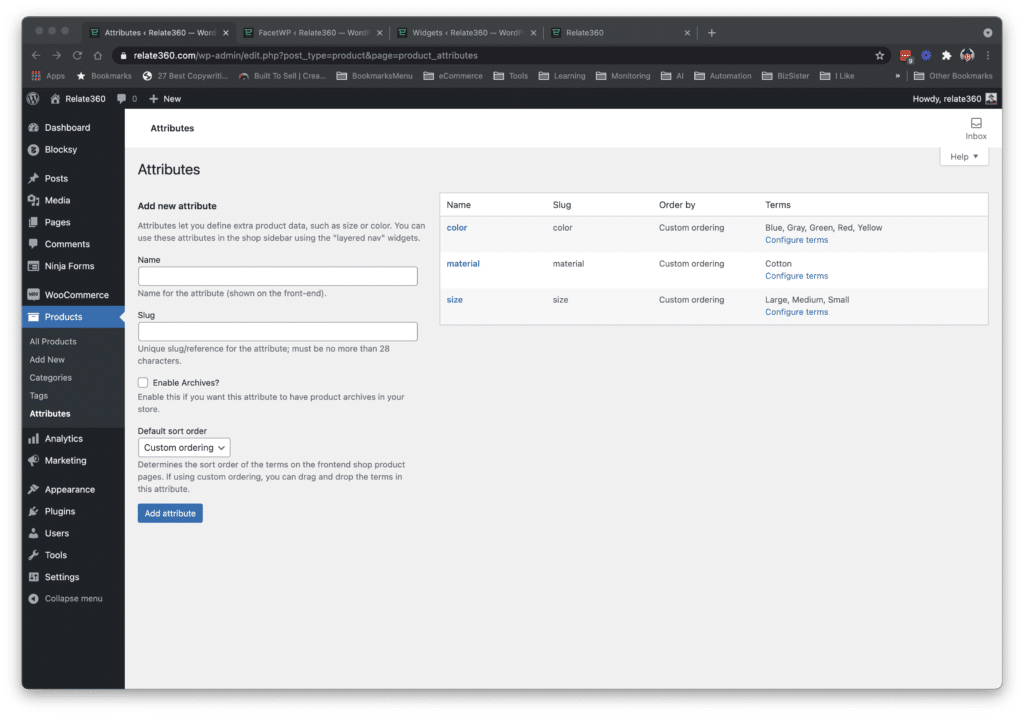
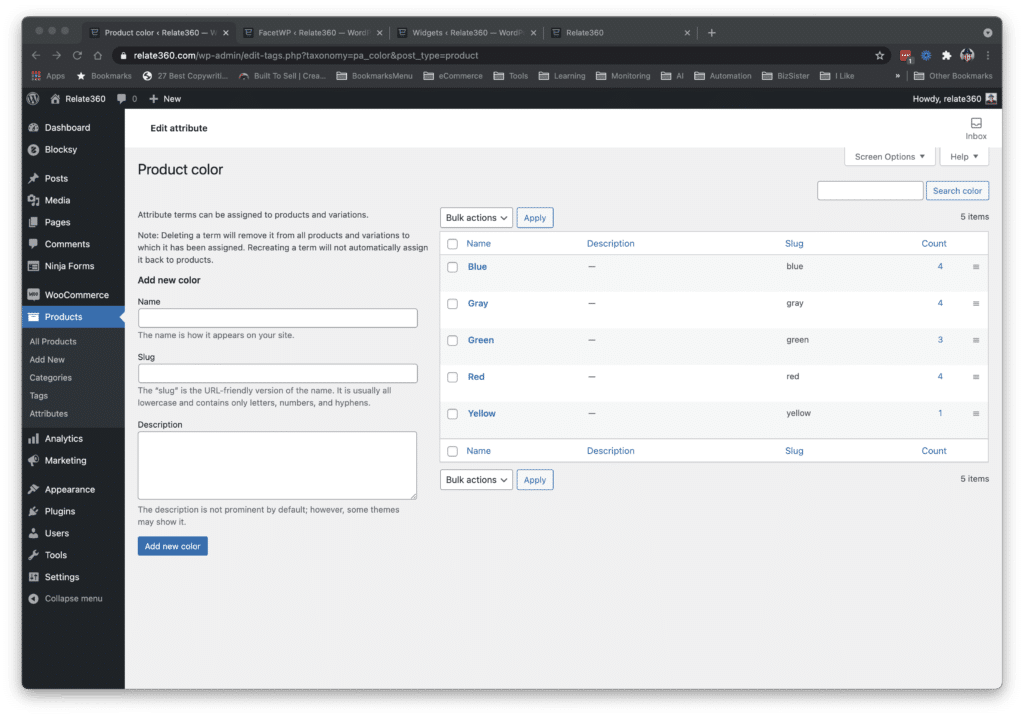
That's going to create the attribute. But the attribute isn't enough. You have to create attribute options – which you can do by clicking on the “configure terms” link in the screen above. It will take you to the screen below, which lets you add as many terms (attribute options) as you like.
These will be turned into the links, checkboxes, or colors used later in your WooCommerce product filters.
Now we create WooCommerce products & assign attributes
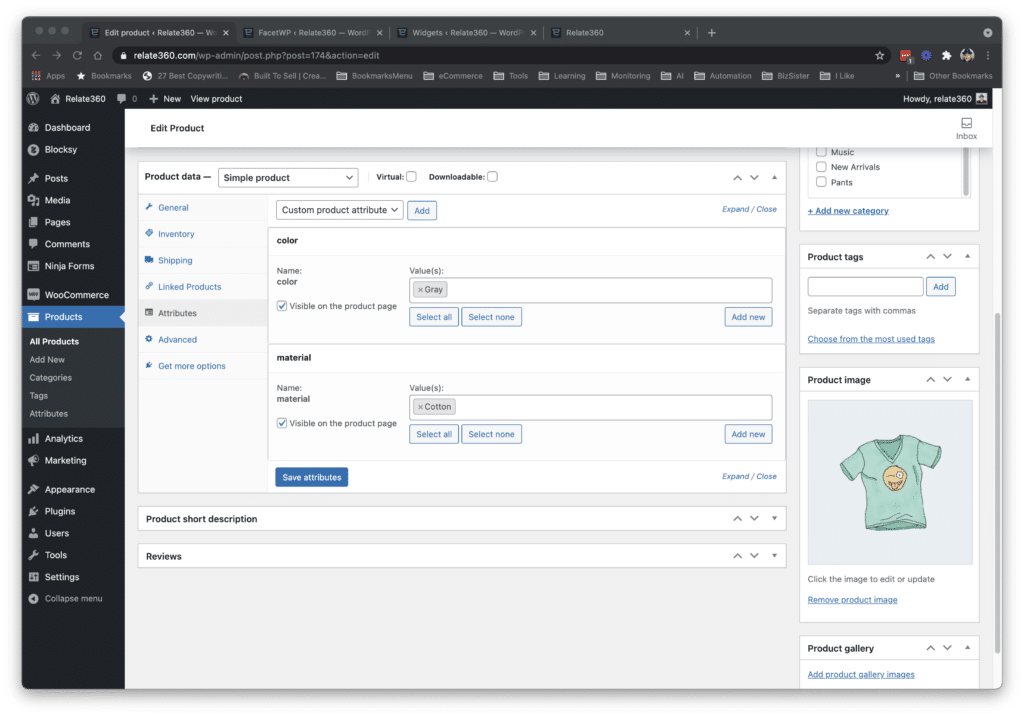
The next bit of work we have to do is create WooCommerce products. You'll see in the Product Data section that you can add attributes, and the good news is that they're already be there for you, when you hit the “custom product attribute” dropdown.
As you add each attribute, you'll also get to decide which of the attribute options (“values”) you want to assign to each product.
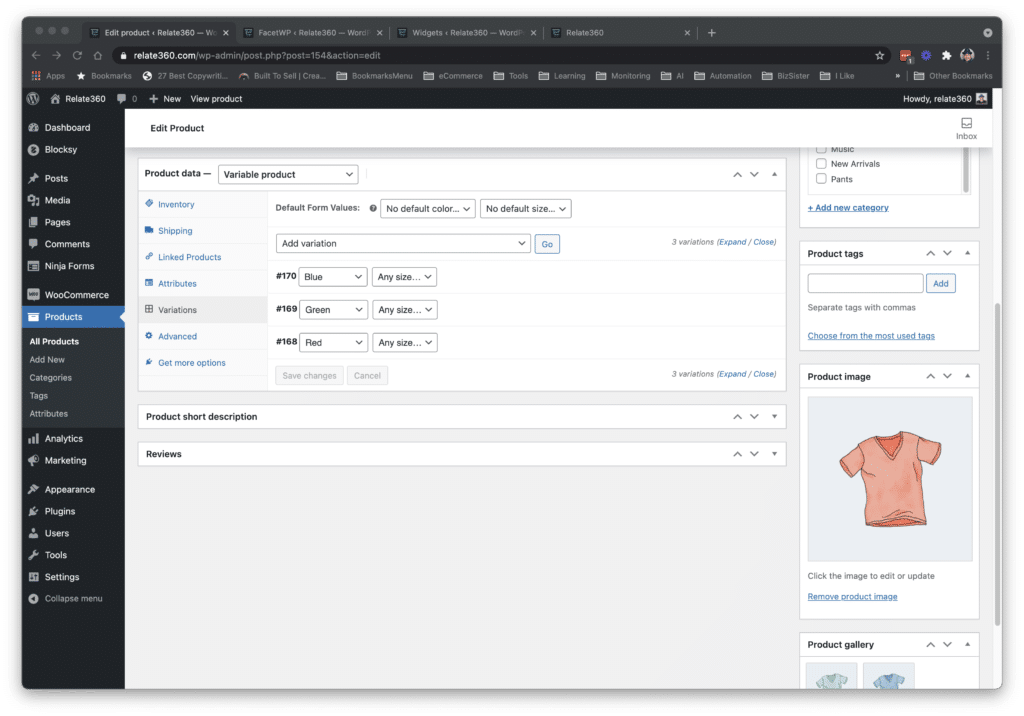
Adding the attributes and attribute options allows you, when dealing with a variable product, to create variations from each attribute.
So if you have color as an attribute, and size as another (which is common with clothing), you can add one variation for every combination.
So if you have Red, Green, and Blue, and Small, Medium, and Large, you'll have 9 variations. Thankfully, you don't have to manually create them all, as WooCommerce will do that for you, if you choose that option in the dropdown that says, “Add Variation.”
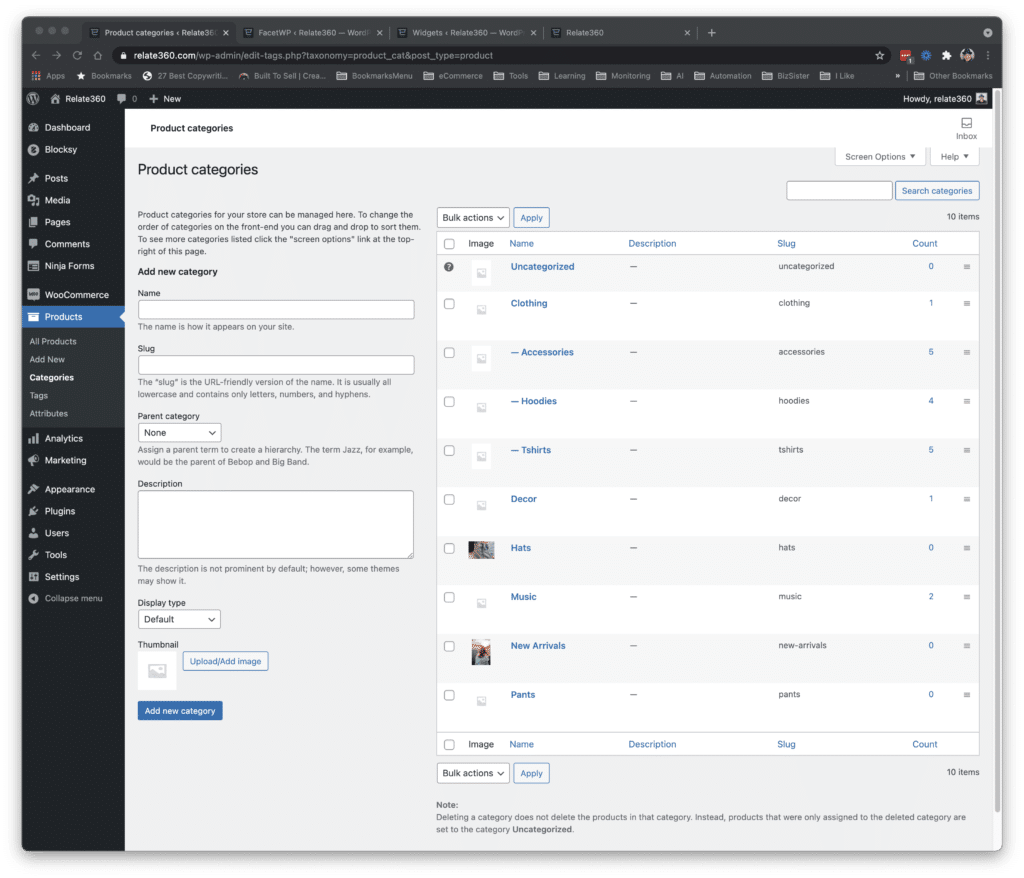
Don't forget (nested) categories
If you look at that first Amazon image, you'll see that shirts is a super-category, with a bunch of sub-categories below it (t-shirts, tank tops, etc.). Don't forget to create your category parents and category children.
Then assign all your products to all the right categories.
Once you have all this complete, you're ready to add the single plugin that will do all your product filter work for you.
FacetWP – The Best Product Filter Plugin for WooCommerce
Now I'd like to introduce you to the plugin that's going to do all the work for you. It's called FacetWP. It's incredibly powerful and it works with WooCommerce right out of the box.
When you click that link and visit FacetWP you're going to notice there's a fee to use it. Trust me on this, you'll never be more thankful to pay it. In fact, if you're hesitant to pay it, I suggest trying to do this on your own to get a better sense of how much your time is worth. It will make paying the fee so much easier.
Are there other solutions out there? Yes, there are some widgets that come with WooCommerce. Also, you'll find another premium extension in the WooCommerce marketplace. And there's Crocoblock Smart Filters – which is great if you're building a store with Elementor.
But FacetWP is not only the easiest, I would say it's the most powerful and most flexible. Today I'm just going to show you how to get started with it.
You start by going to Settings > FacetWP.
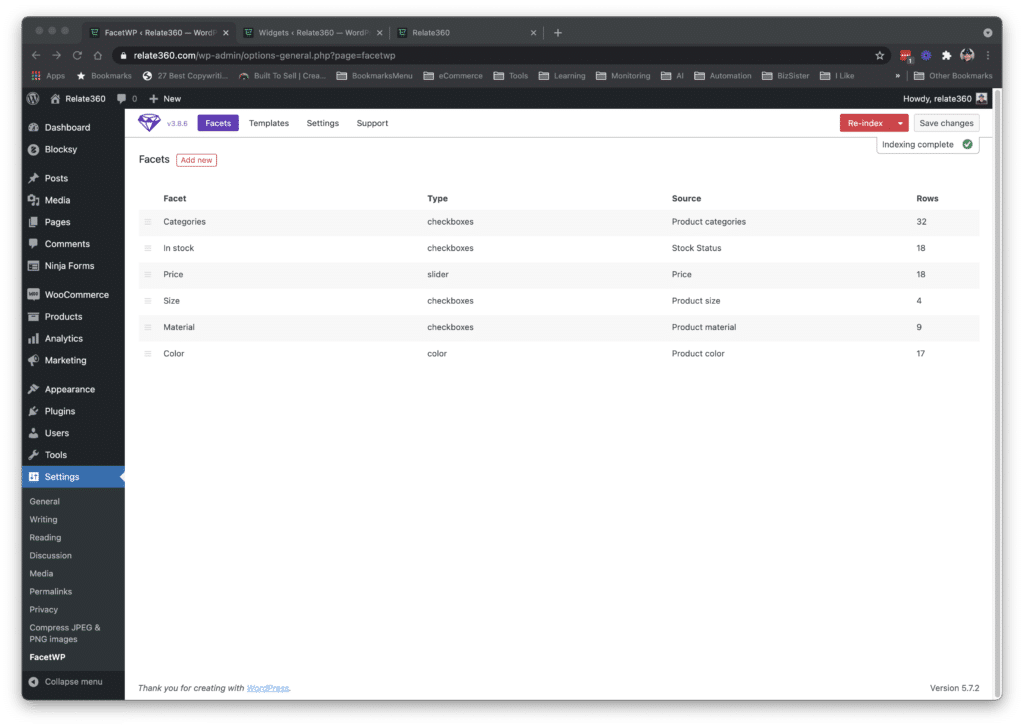
You'll see I've created several. Below you'll see that creating a new facet (or product filter) is pretty simple. You name it, decide how you want the user to interact with it (checkbox, slide control, color picker, etc.), whether there's a hierarchy involved (like category / sub-category), and how you want the filters to work (using an AND or an OR operator).
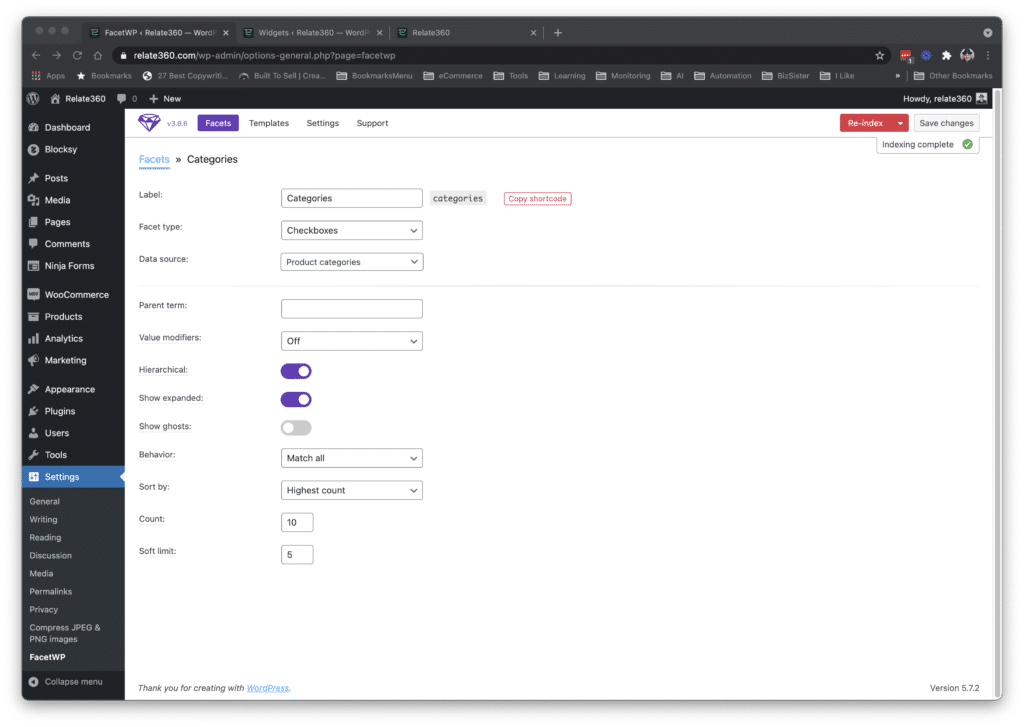
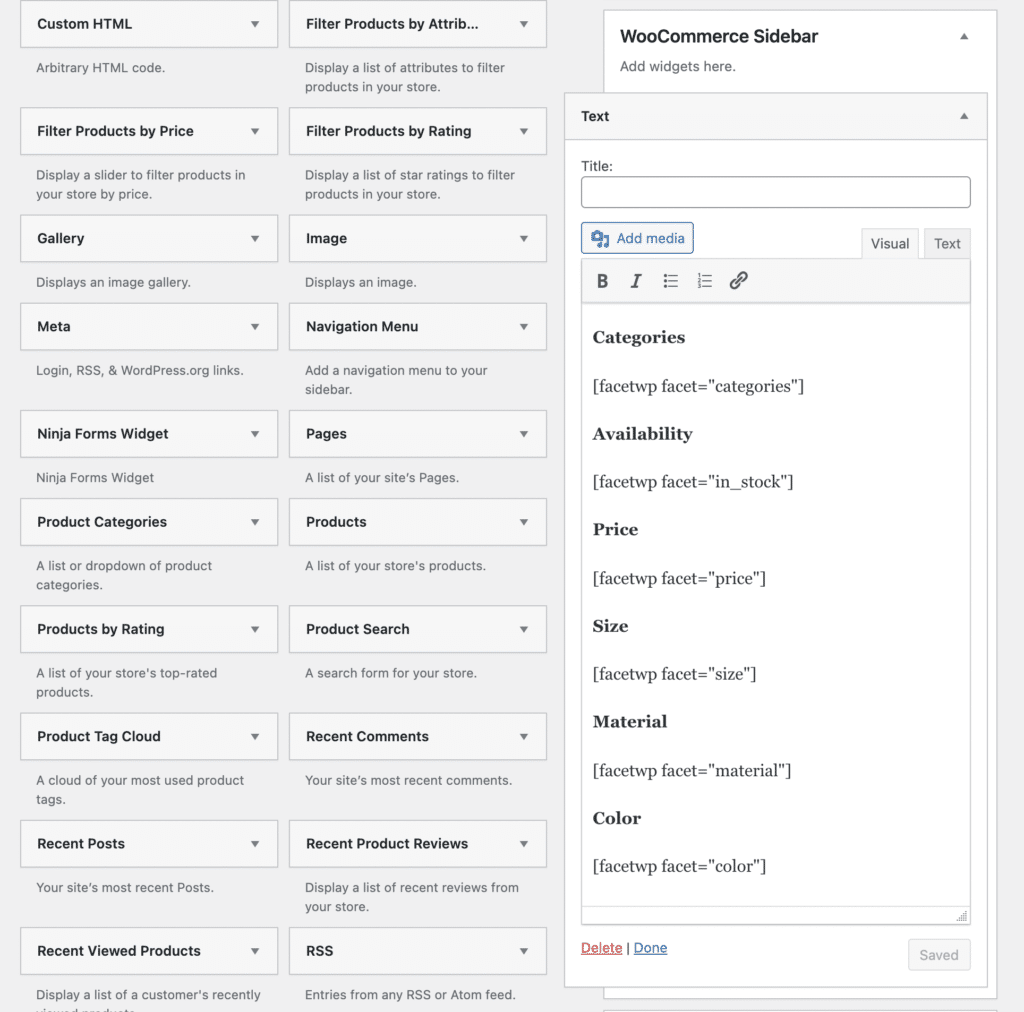
You'll also notice that next to each one there's a red little button that says, “copy shortcode.” That's what you need when you want to create a text widget to show up in your WooCommerce sidebar.
You'll see below that that's what I've done. I've put all the product filters into a single widget.
WooCommerce is so much easier when you add product filters
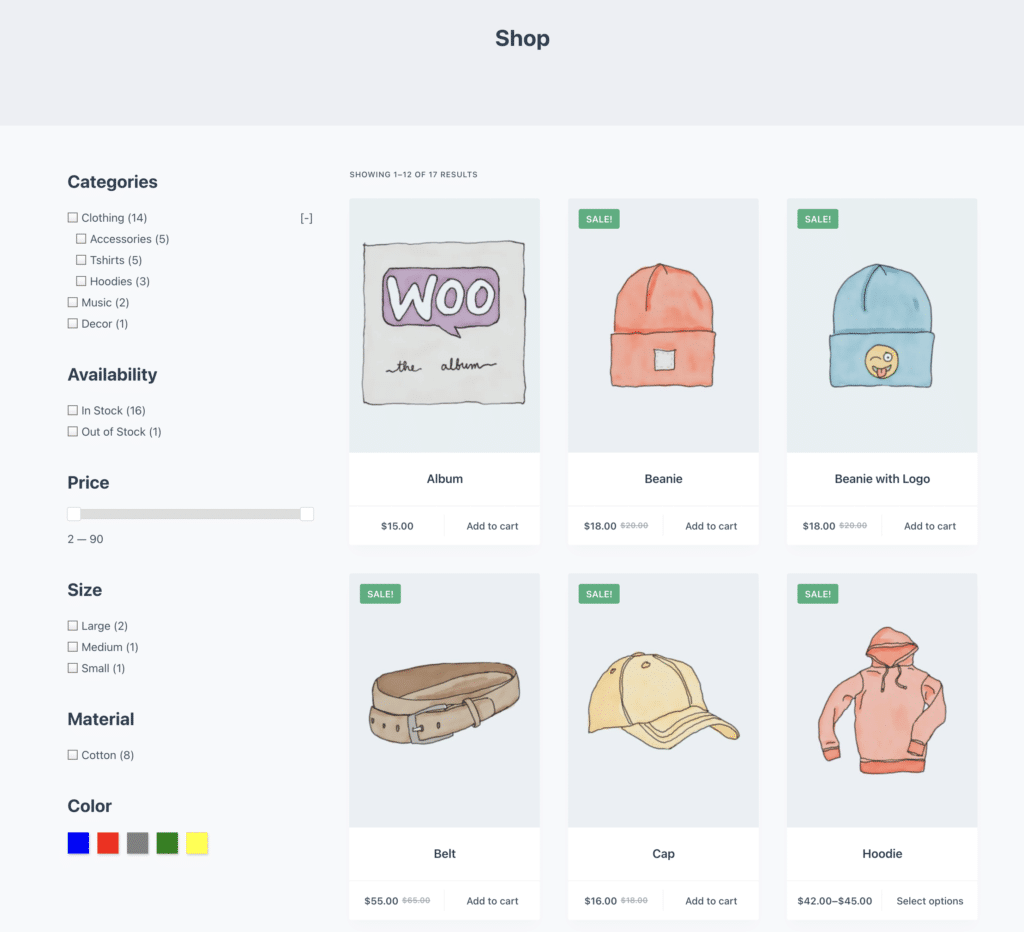
You can see from the shot above that those WooCommerce product filters make this store page look and work much more like Amazon than if they weren't there.
You can also see how they can show the nested categories, the price control, and the color picker. These are all right out of the box without any custom coding.
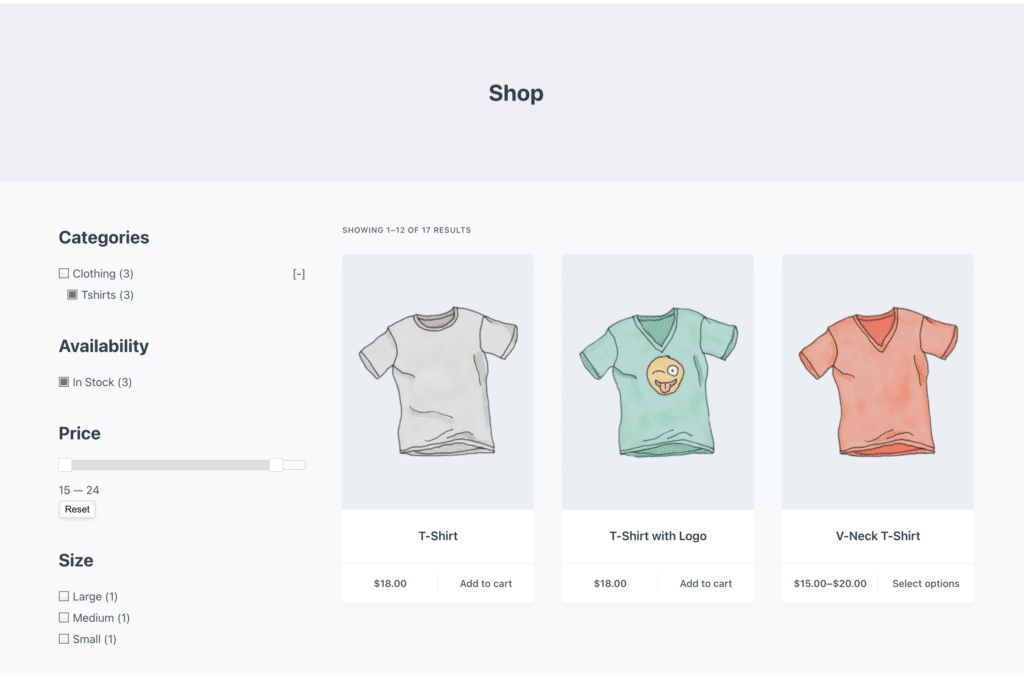
And lastly, when you click on them and put them to work, the page quickly shrinks the available options, exactly as you imagined they would.
Check out FacetWP
I've barely touched the surface of all that FacetWP can do. I haven't told you about templated layouts or how it works with any page builder. It also works natively with Gutenberg.
And did I mention how fast it is?
Your WooCommerce store can't go wrong when you're using FacetWP. And your customers will love it!